


最小の手数でHello world.
とりあえず最小の手数でwordpressを起動してみる。
イメージのダウンロード
docker pullでMySQLとWordPressのイメージをダウンロードする。
イメージはサービス単位。
“MySQL”を実現するためのOSとミドルウェア。
“WordPress”を実現するためのOSとミドルウェア。例えばWebサーバも含んでいる。
まずはMySQL。
$ docker pull mysql:5.7.21
5.7.21: Pulling from library/mysql
2a72cbf407d6: Pull complete
38680a9b47a8: Pull complete
4c732aa0eb1b: Pull complete
c5317a34eddd: Pull complete
f92be680366c: Pull complete
e8ecd8bec5ab: Pull complete
2a650284a6a8: Pull complete
5b5108d08c6d: Pull complete
beaff1261757: Pull complete
c1a55c6375b5: Pull complete
8181cde51c65: Pull complete
Digest: sha256:691c55aabb3c4e3b89b953dd2f022f7ea845e5443954767d321d5f5fa394e28c
Status: Downloaded newer image for mysql:5.7.21
docker.io/library/mysql:5.7.21
次にWordPress。何も指定しないと最新が落ちる様子。
$ docker pull wordpress
Using default tag: latest
latest: Pulling from library/wordpress
bb79b6b2107f: Pull complete
80f7a64e4b25: Pull complete
da391f3e81f0: Pull complete
8199ae3052e1: Pull complete
284fd0f314b2: Pull complete
f38db365cd8a: Pull complete
1416a501db13: Pull complete
be0026dad8d5: Pull complete
7bf43186e63e: Pull complete
c0d672d8319a: Pull complete
645db540ba24: Pull complete
6f355b8da727: Pull complete
aa00daebd81c: Pull complete
98996914108d: Pull complete
69e3e95397b4: Pull complete
5698325d4d72: Pull complete
b604b3777675: Pull complete
57c814ef71bc: Pull complete
ed1877bc3d14: Pull complete
673ead1d3971: Pull complete
Digest: sha256:46fc3c784d5c4fdaa46977debb83261d29e932289a68739f1e34be6b27e04f87
Status: Downloaded newer image for wordpress:latest
docker.io/library/wordpress:latest
MySQLコンテナを起動
コンテナ(イメージ)を起動する。
$ docker run --name test-mysql -e MYSQL_ROOT_PASSWORD=test-pw -d mysql
013a2eb6b5b1c0b0f61e85cace6540ec036be80c9f85e8c9b5ed3e114a4cc8e8
パラメタは以下の通り。
| Option | Value | 説明 |
|---|---|---|
| –name | test-mysql | コンテナに名前を付ける。この例であれば test-mysql |
| -e | MYSQL_ROOT_PASSWORD=test-pw | コンテナの環境変数を設定する。MYSQL_ROOT_PASSWORDという環境変数としてtest-pwを設定 |
| -d | – | DetachedMode(Background)を指定する。指定がない場合Foregroud. |
WordPressコンテナを起動
WordPressコンテナを起動する。
$ docker run --name test-wordpress --link test-mysql:mysql -d -p 8080:80 wordpress
a1301075d3667de7eddd9edc0c46edaeb4346a5c46ef444538c9cf9987f31471
パラメタは以下の通り。
| Option | Value | 説明 |
|---|---|---|
| –link | test-mysql:mysql | コンテナを連携させる。書式は –link [コンテナ名]:[エイリアス]。test-mysqlがコンテナ名(前述)で、mysqlがそのエイリアス。 |
| -p | 8080:80 | HostとGuestのポートマッピング。Hostの8080をGuestの80にマッピングする。 |
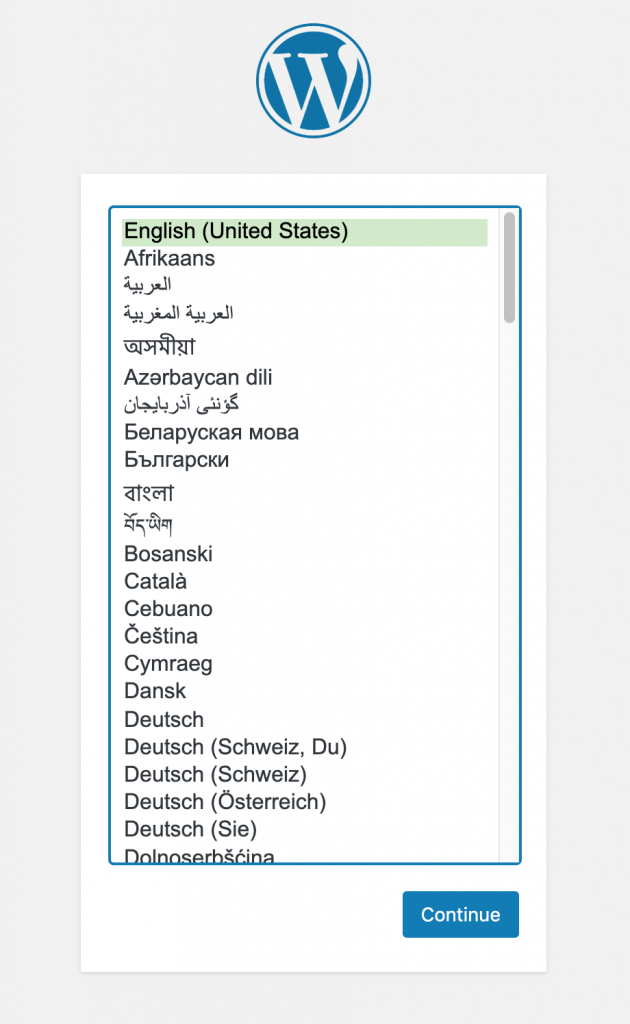
Hostの8080にWordPressコンテナ内の80がマップされた。
http://localhost:8080/ でWordPressの言語選択画面が表示される。
非同期で起動したコンテナにアタッチ
docker execで非同期に起動したWordPressコンテナ内のディレクトリにアクセスできる。
この例だと/var/www/html。
ゴニョゴニョいじると変更が反映される。
$ docker exec -it test-wordpress /bin/bash
root@a1301075d366:/var/www/html#
もちろん、コンテナを落とすと変更は失われる。
まとめ
DockerでWordPressを動かすデモに超速で入門した。